Macaroni Kid Giveaway
to the Natural History Museum of LA County!
Click Here to Enter Giveaway & Details!
Learning About Butterflies!
Butterfly season is here and what better way to explore the beauty of metamorphosis than to watch butterflies go through their natural life cycle! Experiencing the life cycle of the butterfly is a great way to bond with your children and to learn about change. Each part of the butterfly’s lifecycle can be a cute educational and fun lesson for your family to enjoy whether you have accompanying caterpillars or not. If you decide to purchase a butterfly kit, you can complete each project as they are happening with your caterpillars, but this will be a fun activity even without the live caterpillars! These crafts are an easy, simple and fun way to incorporate some hands-on activities to accompany learning about butterflies!
Butterfly Art
Materials: (Egg/CaTOEpillars/Butterfly Art)
Colored paper: Large green construction paper for the leaf, White paper for the egg or eggs and caTOEpillars, brown for chrysalises
Paint: Red, Green (or any other colors)
Paper plates to put your paint on
Paint Brushes
Black marker to draw eyes
*Cut out the leaf and eggs for your child(ren) before you begin the activity.
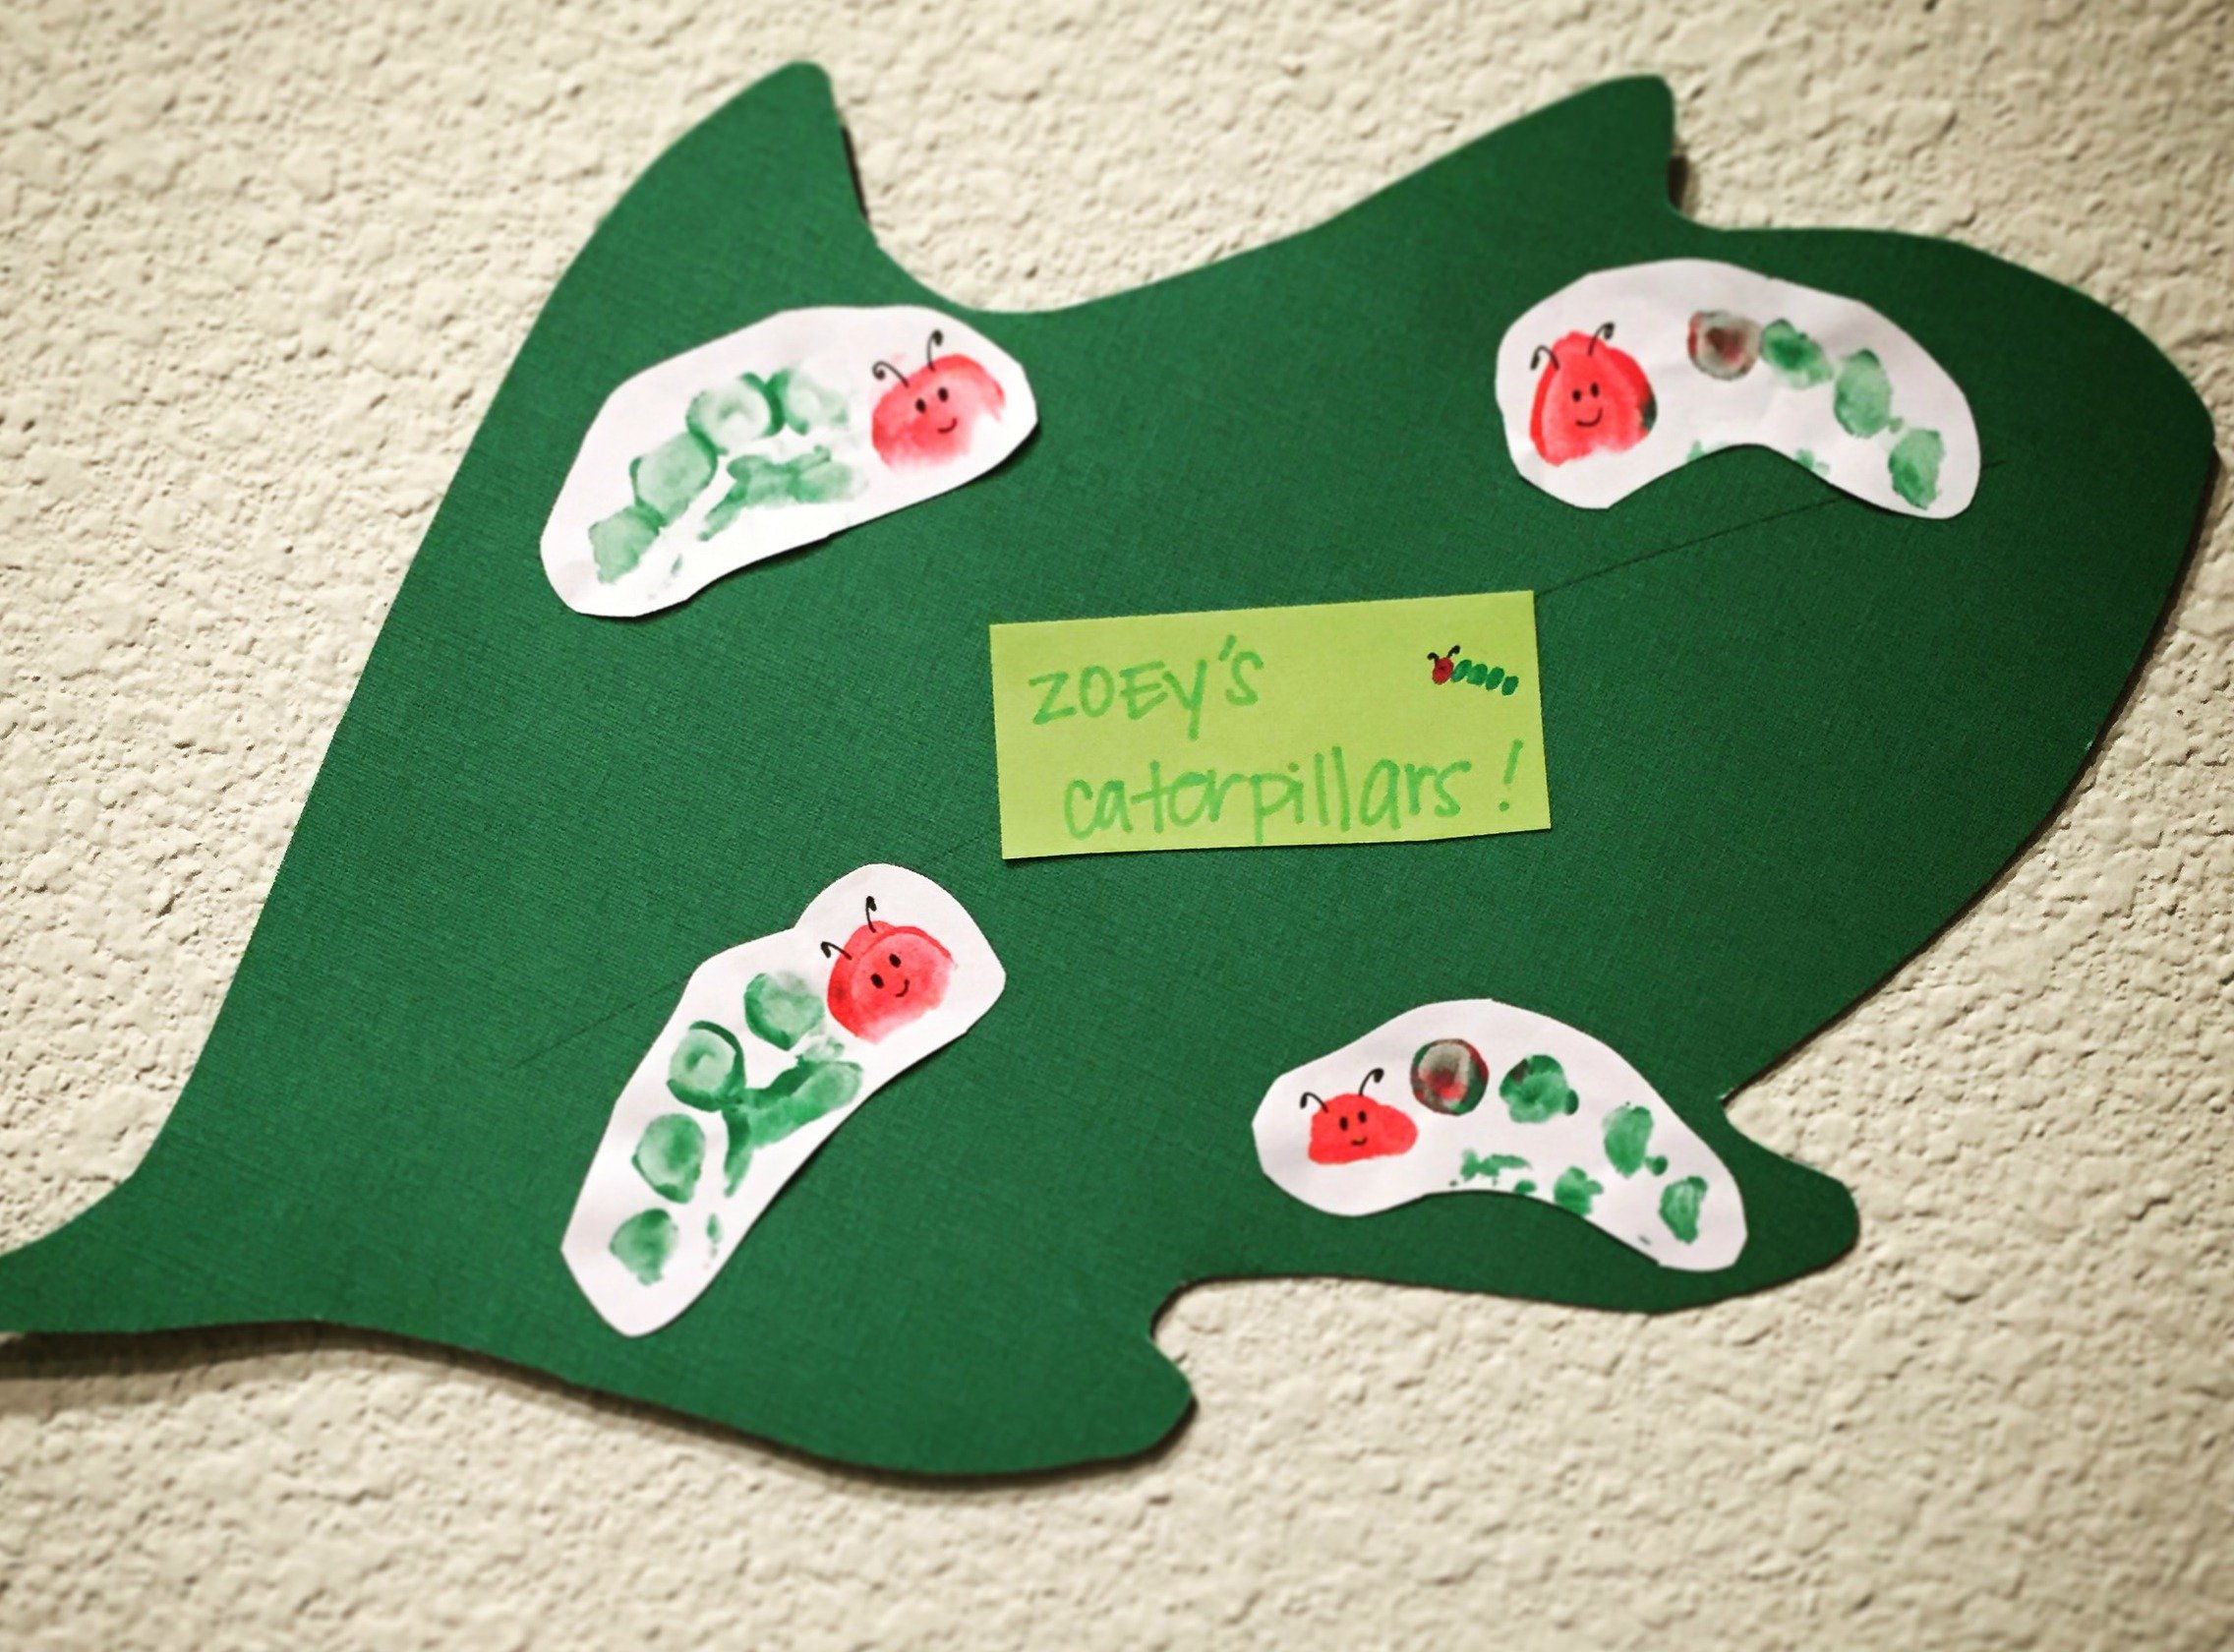
Find a nice place in your home to put up the leaf. Give your child(ren) an egg that they can glue on your leaf. While waiting for your pretend eggs to hatch (or for your butterfly kits to arrive) this is a great time to read some books about butterflies!
Here’s a list of some great caterpillar and butterfly books:
After a couple days (or when your caterpillars arrive), remember to discuss the change how the eggs have now hatched and that you have caterpillars now! (Draw a hatch mark down the egg to signify that the egg has now hatched. It’s now time to make your own caTOEpillars!

You will need white paper, paper plates, paint brushes, paint, and TOES!
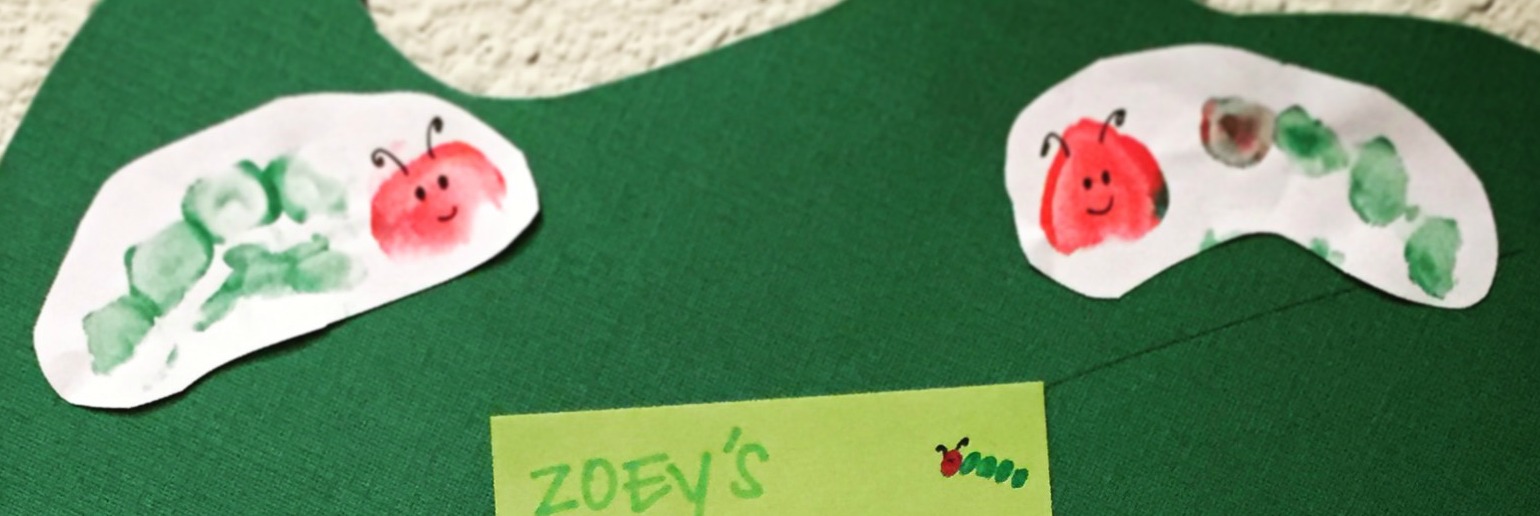
We used red and green paint, but feel free to use whatever colors you want your caTOEpillars to be! Place a dollop of red and green paint onto separate plates. Here comes the fun part! Brush on the paint on their toes! We used red for big toes and green for the rest. Then, have them stamp their feet on the white paper to create your caTOEpillars. After they have dried, cut around the caTOEpillars and then glue them to your leaf! Have your child(ren) decide where they would like to place them!

Now, depending on how long it takes for your caterpillar to change and become a chrysalis you can keep your caterpillar up. If you are not following live caterpillars, you can cut out chrysalises depending on how many caterpillars you’ve made together to hang on your leaf.
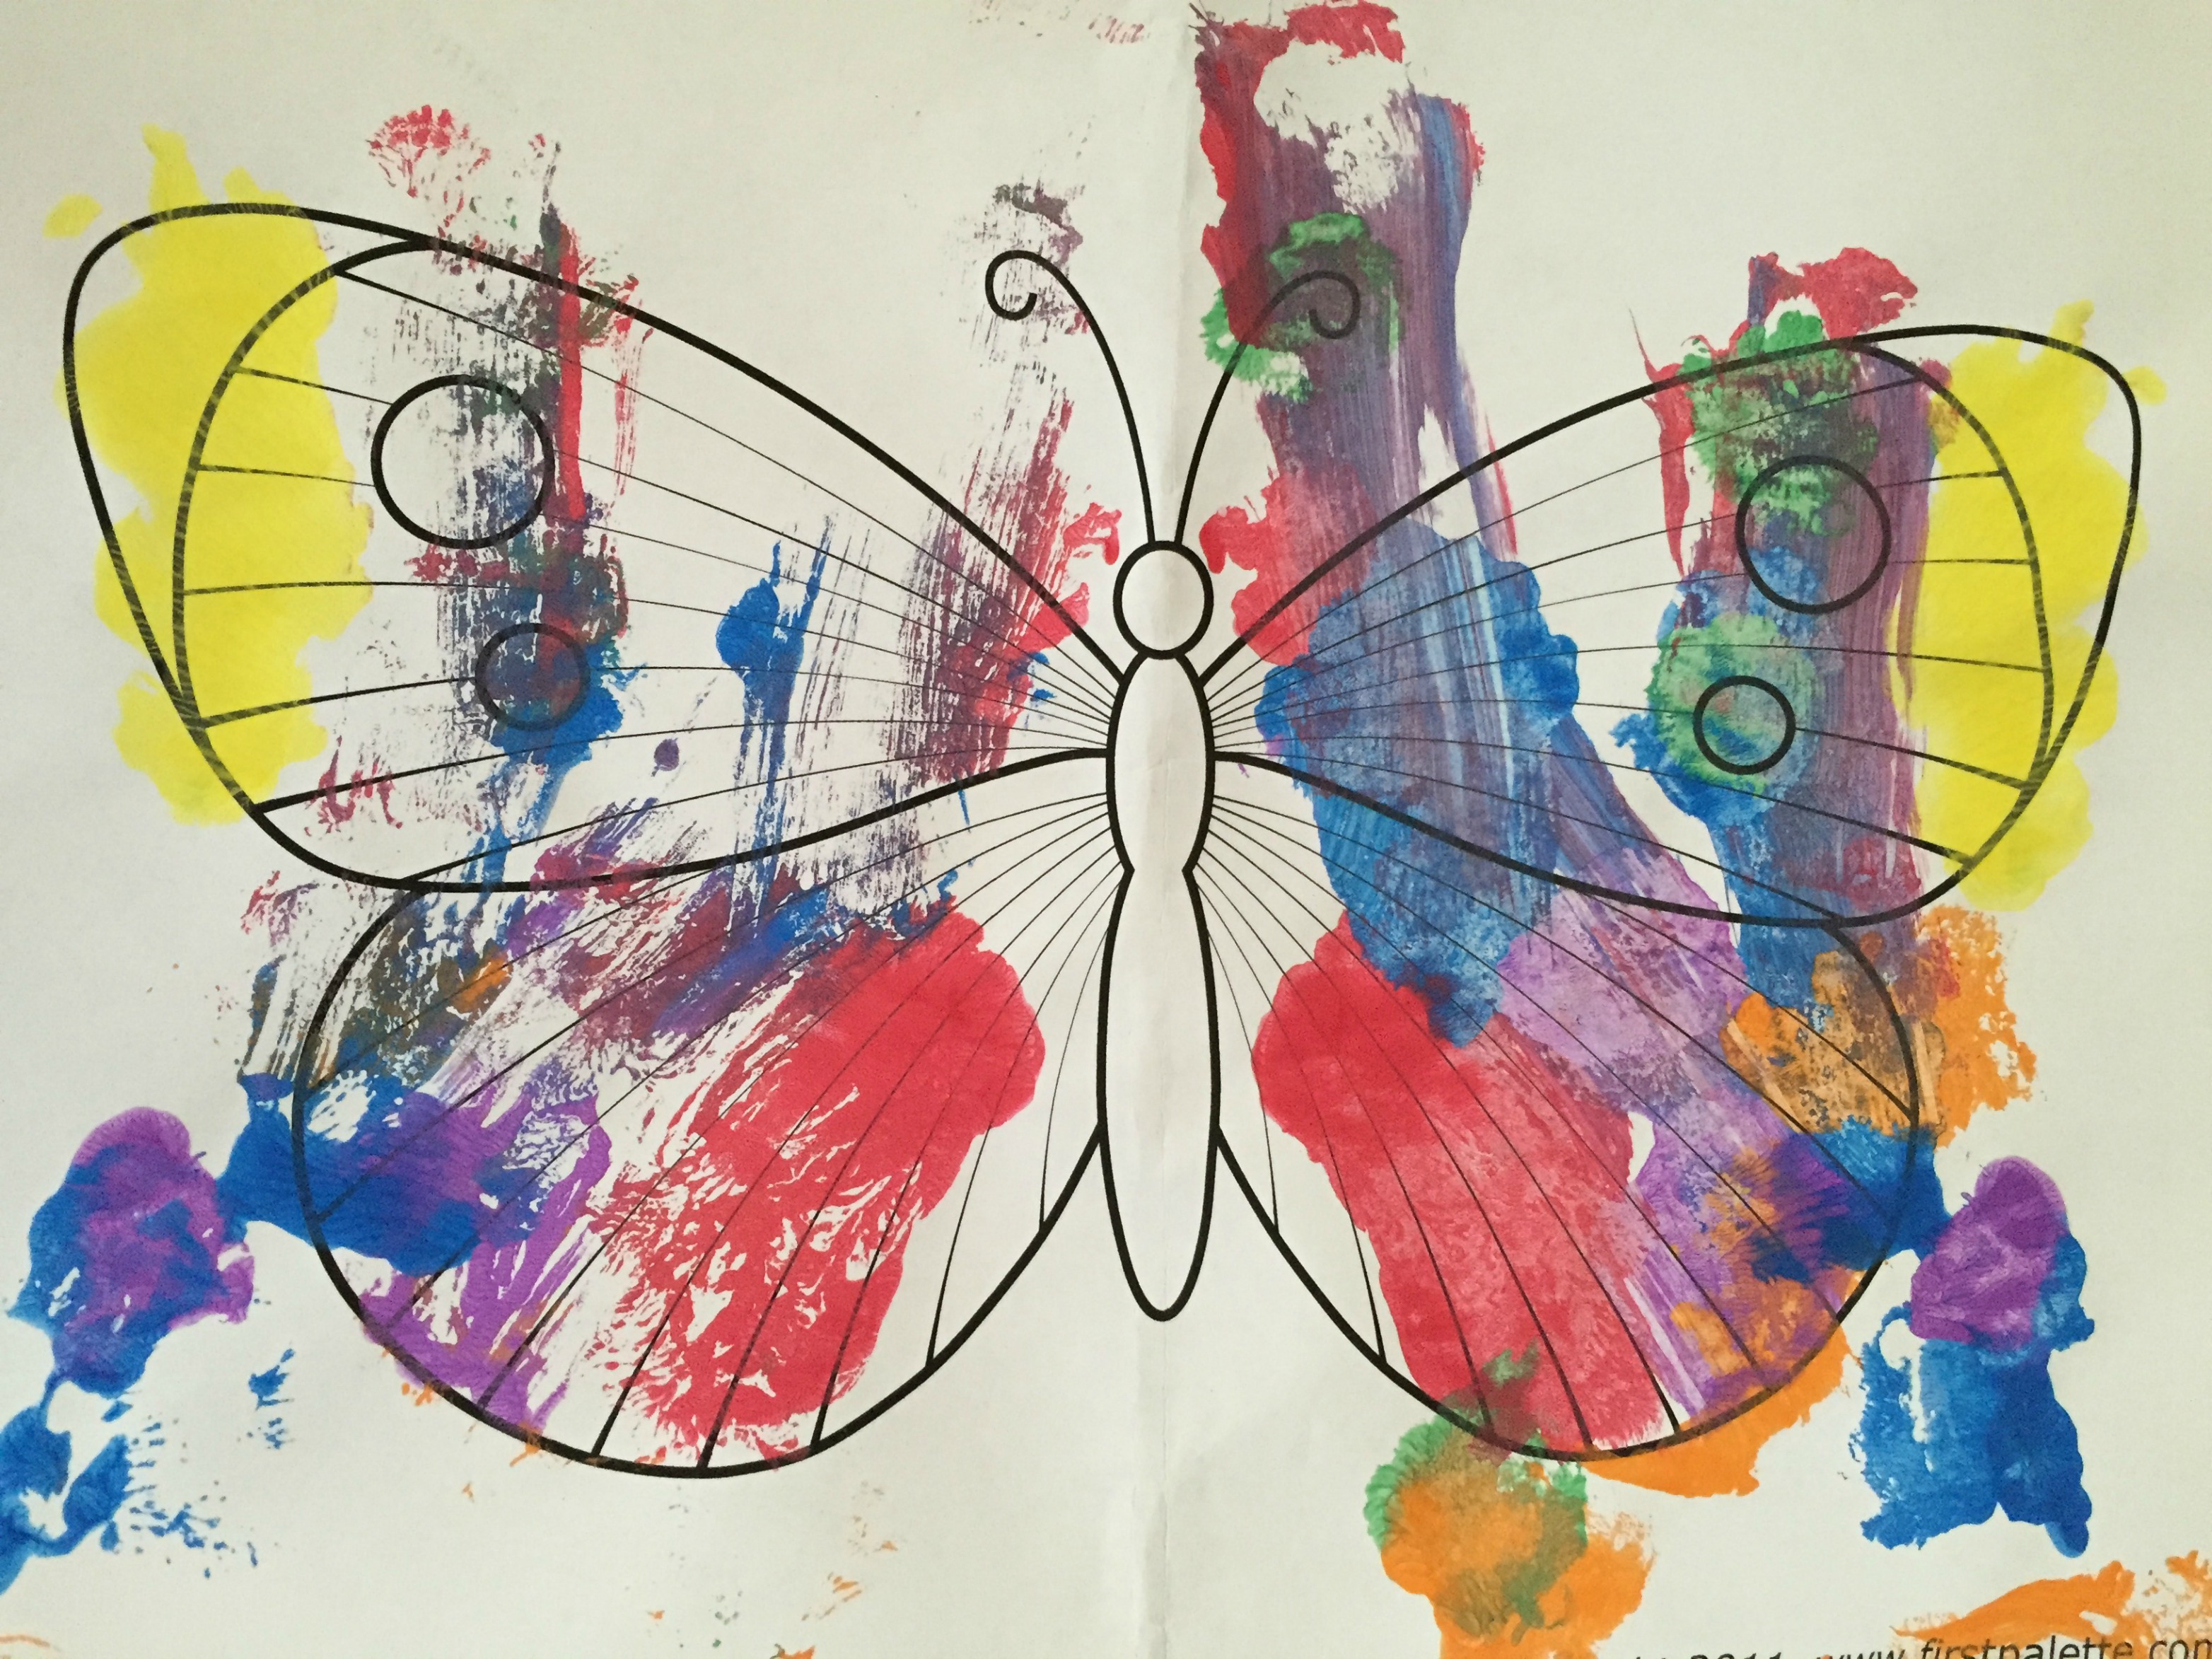
After a couple days or after the emergence of your first butterfly, you can then have them paint their own butterfly! For children who are younger, we suggest using cotton balls and a clothespin so they can dab the paint or even fingers!

Review the butterfly lifecycle with your children show them how each stage is different and that change is a part of life. From egg to caterpillar to chrysalis, and then finally to a butterfly – the lifecycle of the butterfly is an amazing way to show your child the beauty of growth and change.
Experience
After your crafts, if you would like to see and learn more about butterflies, you can check out these locations to further enjoy butterflies!
Butterfly Pavilion Event March 19 – Sept. 4th
Natural History Museum, Los Angeles
900 Exposition Blvd.
Exposition Park, CA 90007
Butterfly House May 7th – September 2017
Environmental Nature Center
1601 East 16th Street
Newport Beach, CA 92663
Caterpillar Adoption Days March 11 – April 23 / Grand Release April 22nd & 23rd
Kidspace Children’s Museum
480 N. Arroyo Blvd.
Pasadena, CA 91103


